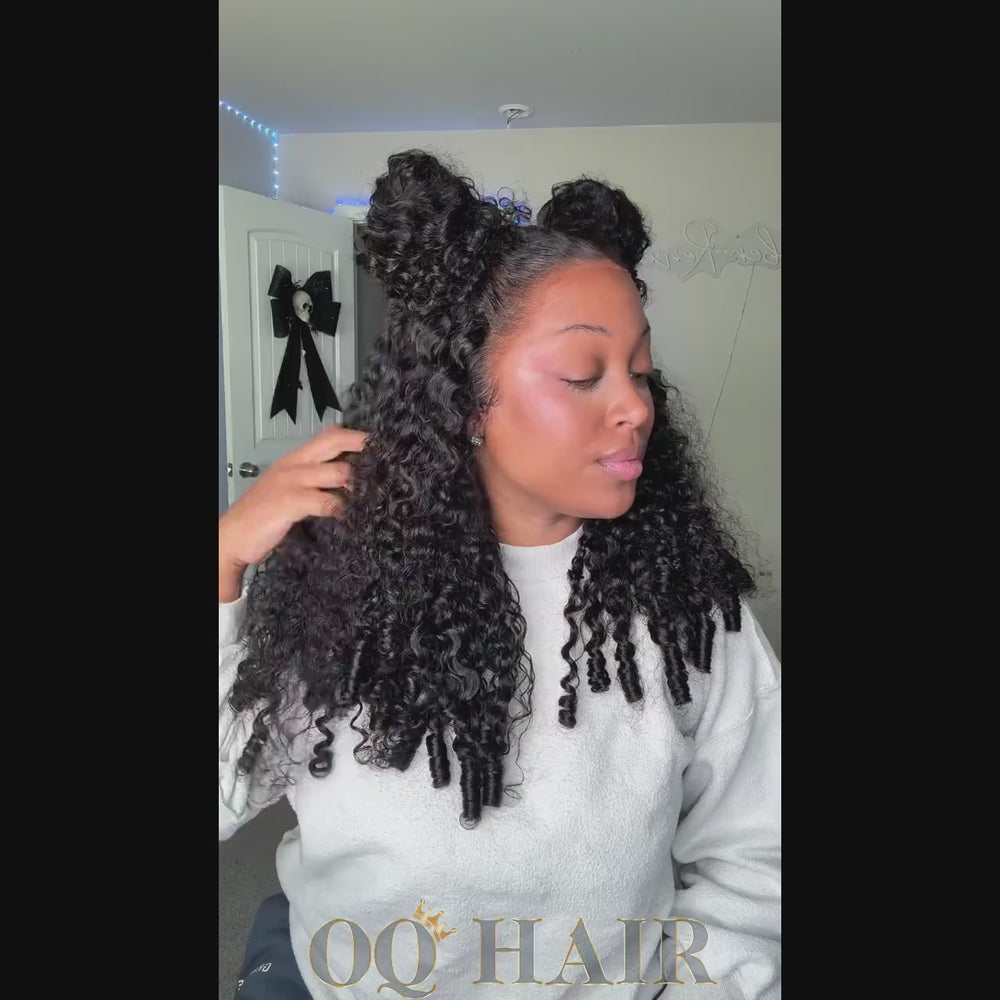
How To Bleach Wig Knots: A Beginner-Friendly Tutorial
Bleaching the wig knots is one of the most important wig customization steps to create a more natural-looking hairline on human hair lace wigs. In this blog post, we will guide you through the beginner-friendly process of bleaching your wig knots to reach a flawless and undetectable hair look. Let's get started!

What are Knots in a Wig?
The hair strands are hand-tied onto the holes of wig lace, Like needlework, to keep the hair in place, workers tie a knot at the base of the lace. These little hair knots that look like black sesame are wig knots. Because the knots are visible, the hairline may appear less natural. Many people who wear wigs decide to bleach or tint the knots to match the color of their scalp in order to achieve a natural scalp. The knots appear lighter after being bleached, which lessens their visibility and gives the wig a more realistic hairline. For your convenience, there are also some bleached knots wig available on the market now. If you don't have the time or energy to bleach your wig knots yourself, why not try this quick and easy option when investing in your next wig.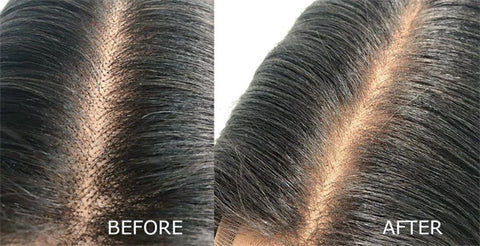
How To Bleach Wig Knots: A Beginner-Friendly Tutorial
Note: It's important to be cautious and patient throughout the process because bleaching can weaken the wig's lace and knots(especially lace front wigs and HD lace wigs).
Things You May Need
- Bleaching Powder
- Developer: Use a developer (25–40) to minimize damage to the wig.
- Mixing Bowl and Brush: Use these to mix the bleach and developer.
- Butter Knife: To apply the mixture evenly.
- Gloves: Protect your hands from the bleach.
- Aluminum foil: These will help prevent the bleach dry while processing.
Wash, condition and air dry the wig. A clean human hair wig is the basis for successful bleaching. If the wig is dirty, the bleach will be hard to apply.
Step 2: Prepare the Bleach Mixture
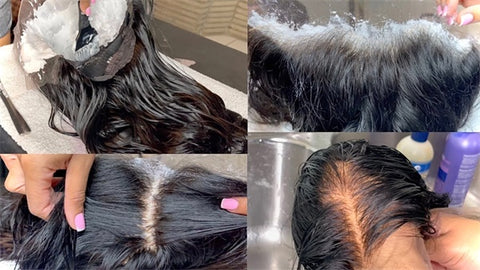
Mix the bleaching powder and the developer in a bowl. Follow package instructions for correct proportions. Use a brush to stir the mixture until it forms a creamy paste. When you scoop it up with the brush, it does not fall off like water, which means that it is not gonna see through the lace easily and get on the natural hair.
Step 3: Apply the Bleach to the Wig
Wear gloves to protect your hands. Lay the wig flat on your work surface with the lace facing up. You can use a butter knife or the back of a spoon to apply the mixture to the place where the knots are located. Start along the hairline of the lace, just smeared, not scraping it with a heavy hand. Then cover all the areas where the knots are visible evenly. Turning the lace around to make sure that did bring the bleach forward enough to cover every single knot along the hairline. Avoid getting bleach on the actual hair strands, as this can damage the hair.
Step 4: Wrap the Wig
Take an aluminum foil and wrap the wig, leave it for about 45 minutes. This will prevent the bleach from drying out and help it process evenly. The processing time will vary depending on the wig's lace type and color, so it's essential to monitor the progress throughout.
Step 5: Check and Reapply
Peel the foil carefully once the desired lightness is reached. Because the knots along the hairline will always bleach quicker and easier than the knots along the back, part the lace throughout to ensure that the back knots are bleaching as well. If there are still some knots that were not bleached perfectly, you can apply a little bit of developer to soften the knots up to get any last knots for 10 minutes.
Step 6: Wash and Dry
To ensure all of the bleach is gone, finish rinsing the wig completely with cold water. Next, give the wig a wash and condition. Finally, on a wig stand or mannequin head, let the wig air dry.
Why Won't My Knots Bleach?
Not choosing the right bleach
If the knots don't change color, maybe the reason is bleach is not strong enough. Generally, we recommend 30 or 40 volumes of developer for bleaching wig knots. The ratio of bleaching powder to developer is also important. Please follow the instructions step-by step for bleaching. The texture of the final mixture should be slightly looser than toothpaste.
There is not enough bleaching time
You left the bleach on for too long; the knots ought to be the same shade as the lace or a sun-kissed blonde.
Utilize foil incorrectly
The foil was placed on the bleach, but you did not gently press it down.
Inadequate amounts of bleach mixture
Despite having the ideal consistency, you did not apply a generous amount of your bleach paste.
Uneven bleaching
Make sure you apply the bleach mixture evenly and don't leave it on for too long. One tip is to use a bread knife or watercolor knife to spread the bleach mixture evenly, just like cheese sauce and oil paint.
Wig have residue
Before bleaching, it's a good idea to wash your wig to remove any residue or oils that may inhibit the bleaching process.
Conclusion
Bleaching the knots on a wig is a delicate process that requires attention to detail. By following the tutorial, you can achieve a seamless and natural effect easily. Recently, OQ Hair is conducted a flash sale for june. If you happen to need a new wig, you might as well try OQ Hair, I believe we will not let you down! Have a happy life!
Read More
Bleached Knots VS Unbleached Knots: What is the Difference
Wig Prep: How To Make Your Hair Grow Under Wig
A Guide to the Different Types of Wigs