Can You Put a Wig in a Ponytail and How to Make it

Can You Put a Wig in a Ponytail
Creating a ponytail with a wig is indeed possible, though it may pose some initial challenges, especially for beginners. However, with the right techniques, practice, and patience, you can attain flawless results that rival natural hair ponytails.If you want to create a ponytail, a human hair wig may be your best choice. Human hair wigs are generally more versatile and can be styled much like natural hair. They are the best choice for achieving a ponytail because you can straighten, curl, or heat-style them to your liking. The hair's natural texture and adaptability make it easier to create a realistic ponytail. Synthetic wigs, on the other hand, are less flexible in terms of heat styling and updos.
What Kind of Wig Can You Put in a Ponytail
Lace Front Wigs
Lace front wigs are just suited for low ponytails. High ponytails expose the nape of the neck, while lace frontal wigs only feature lace at the front, which may make achieving a natural look more challenging.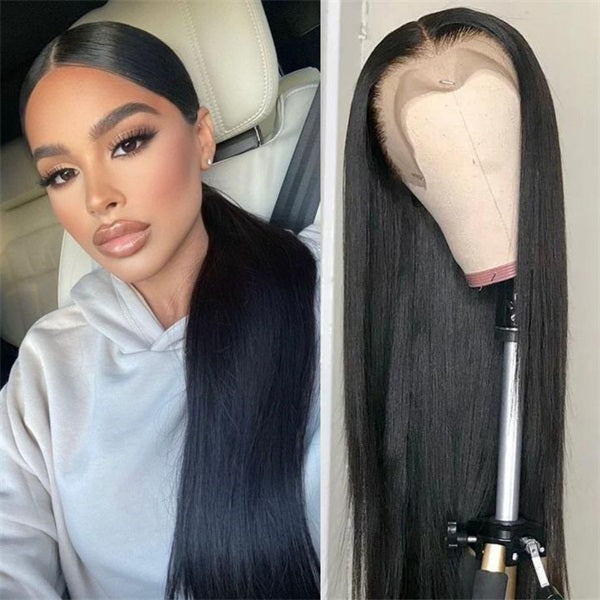
360 Lace Wig
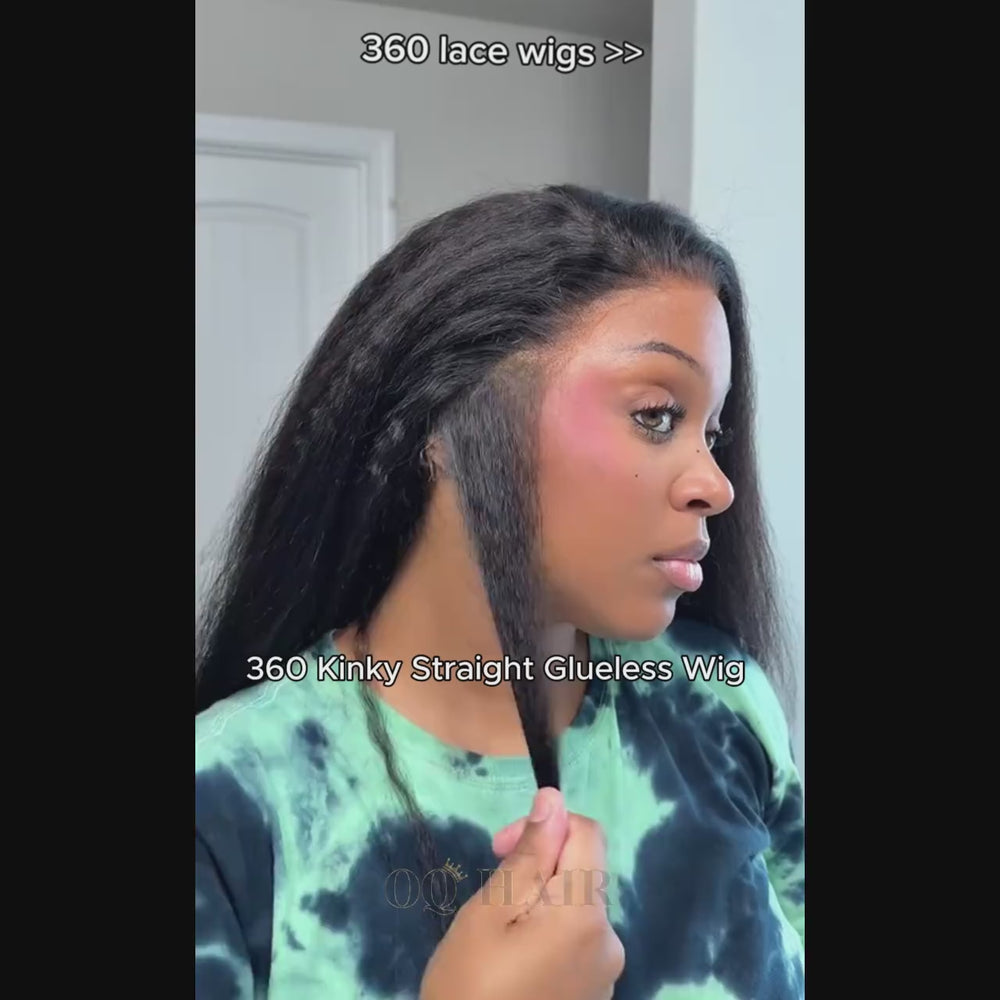
The 360 lace wig boasts lace that encircles the cap, offering complete coverage around your head. This is because a 360 wig is designed to cover the entire perimeter of your head, allowing for more styling options such as high ponytails. This wig type is exceptionally suitable for creating ponytail styles and is often referred to as a "ponytail wig." 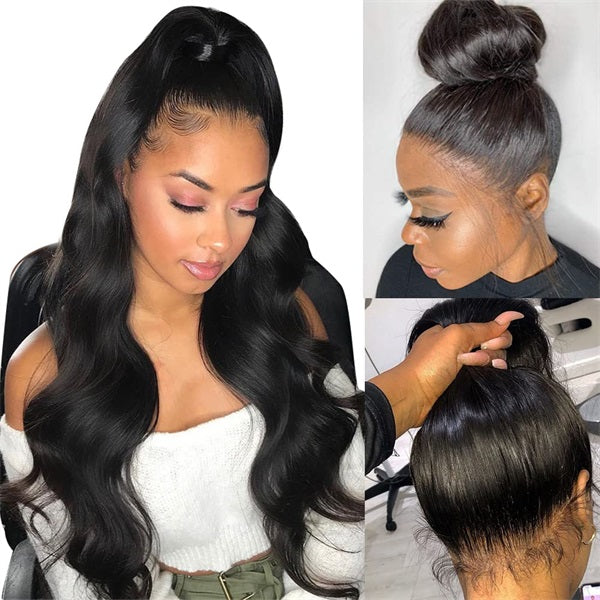
Full Lace Wig
Full lace wigs feature lace throughout the entire cap base, allowing for a multitude of complex hairstyles and versatile parting options. Full lace wigs tend to be more comfortable to wear due to the lightweight and breathable nature of the lace material. It allows for proper air circulation, reducing heat and discomfort. However, they can be relatively expensive and require extra care due to their larger lace area.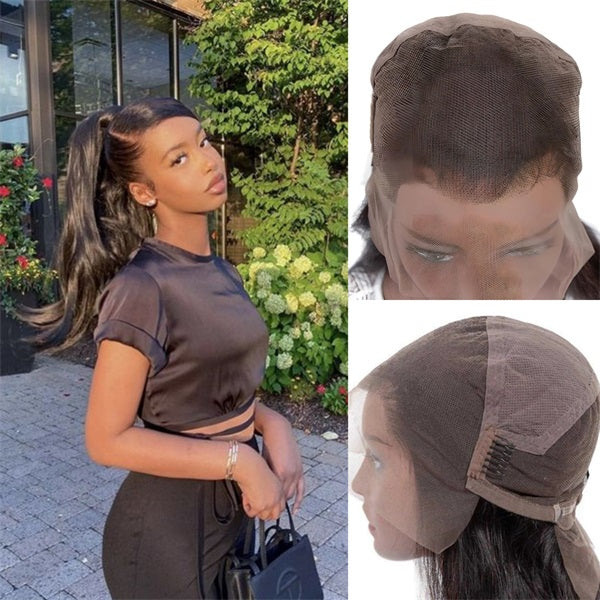
U Part Wig
For those seeking a straightforward ponytail, the U part wig is an option to consider. Some fashion bloggers even provide tutorials on wrapping a U part wig around your natural ponytail for added length. This method is easy to execute but may have shorter-lasting results and limitations in styling. 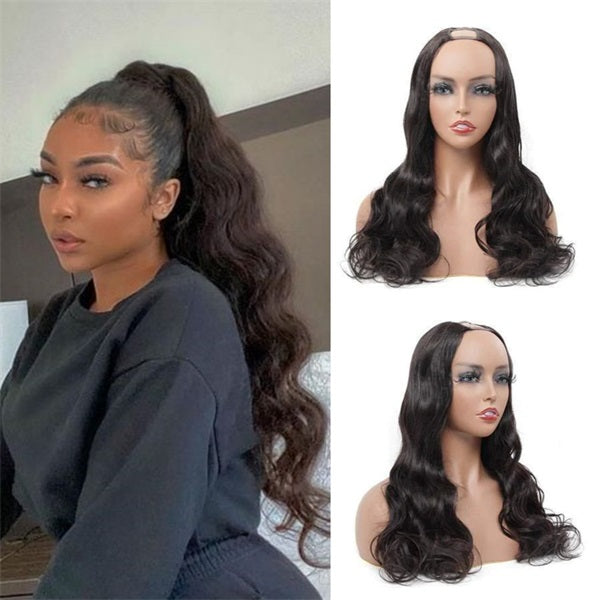
How to Put a Wig in a Ponytail
360 Lace Wig PonytailStep 1: Start by preparing the application area and the nape of your neck. Use a dry cleaner or an astringent to clean and dry the area thoroughly.
Apply a skin protector to the application area to create a barrier between your skin and the glue.
Step 2: Put on a stocking cap that matches your skin tone. It is recommended to use a stocking cap that is slightly darker than your complexion, as it will blend better under the lace.
Step 3: Apply a lace glue or adhesive around the perimeter of the cap, including the back where the ponytail will be. Wait for the glue to become tacky. This usually takes a few minutes. While the glue is drying, position the wig over your head, aligning the lace with your hairline. It's best to have your head down during this step to have more flexibility with the lace.
Step 4: Gently press down the lace onto the glue, starting from the front and working your way to the back. Once the lace is secure, tie your natural hair in a ponytail at your desired height.
Step 5: Take a small amount of setting foam and apply it to your natural hairline and edges to mold and shape them. This will give a polished look to your ponytail. Finally style the ponytail as desired.
Step 1: Start by cutting off the excess lace around the wig. Use eyeliner to trace your natural hairline onto the lace. Then, use liquid lace glue to draw a shape that matches your hairline on the lace. Spread the glue evenly using the back of your tweezers. Allow the glue to dry until it turns completely clear.
Step 2: Carefully place the full lace wig on your head and adjust it to fit properly. If the wig feels tight, you can gently pull on it to give it some stretch. Press down on the wig to secure it in place. Use makeup remover wipes to remove the eyeliner tracing you made earlier. This will give a clean and natural-looking hairline.
Step 3: Use scissors to carefully trim any remaining excess lace along the hairline, being careful not to cut into the hair strands.Apply adhesive on the back. Since you'll be creating a ponytail, you'll need additional hold at the back of the wig. Instead of using water-based glue, opt for a silicone-based glue or adhesive that is strong and long-lasting. Apply a thick coat of the adhesive, making sure to cover the entire area at the back.
Step 4: Allow the adhesive to dry: Let the adhesive dry until it becomes tacky. This will provide a stronghold for your ponytail. Dampen the hair with a product like Tropical Roots or any other foam or mousse designed for wet styling. This will help flatten and smooth the hair for a sleek look. Then, gather all the hair at the back into a ponytail and secure it with an elastic band or hair tie.
Step 5: If you have long hair or extensions, you may need to wrap the hair around the base of the ponytail to create a neat appearance. Use hair glue and pins to secure the hair in place.
Step 6: To add a polished look, take a small section of hair from the back of the ponytail, apply some gel or edge control, and wrap it around the hair tie to hide it. This will create a seamless and finished look.
Step 1: Prepare your natural hair and detangle it. Tie your natural hair into a ponytail.
Step 2: Open your U-part wig, wrap the U-shaped part around your ponytail, and secure it with bobby pins. You can also use a strand of hair from the U-part wig to conceal the connection.
Step 3: This method is perfect for individuals with busy schedules because it is very quick and convenient to install.
Conclusion
Remember always handle your wig with care and consult a professional stylist if needed to achieve the perfect ponytail look while keeping your wig in great condition. With the right wig and styling techniques, you can confidently rock a ponytail with your chosen wig.
Read More
Ponytail Hairstyles for Black Women
How to Do a Ponytail With Weave
New Launch: OQ Hair 7x5 Wear Go Wig – Fast, Comfortable, and Always on Point


